Vinyl Flooring Installation Tips for Florida Homes
- Davi Theodoro

- May 24
- 3 min read
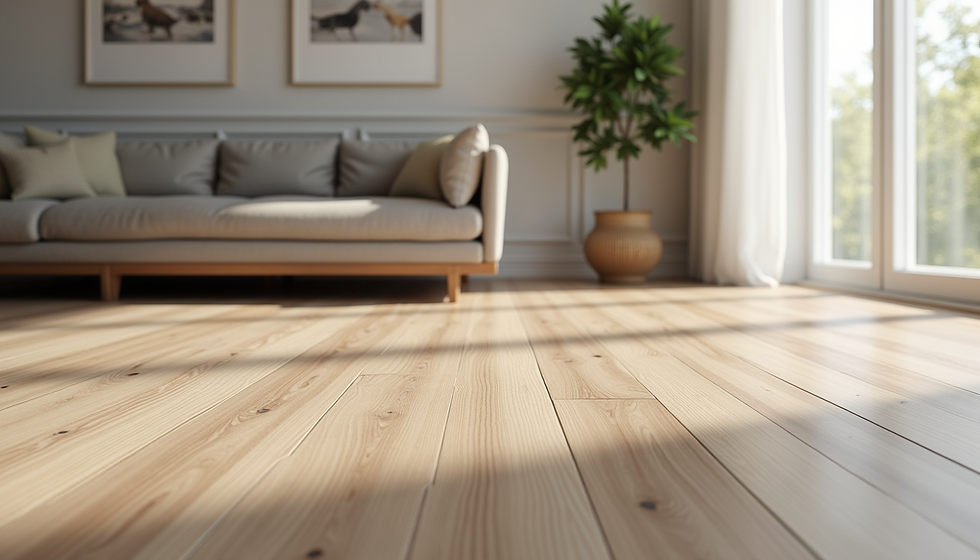
Vinyl flooring has become a popular choice for homeowners in Florida due to its durability, water resistance, and aesthetic appeal. With the unique climate and lifestyle in the Sunshine State, it’s essential to understand the best practices for installing vinyl flooring. This guide will provide you with practical tips to ensure a successful installation that will stand the test of time.

Understanding Vinyl Flooring
Vinyl flooring comes in various forms, including sheets, tiles, and planks. Each type has its advantages, but they all share common benefits:
Water Resistance: Ideal for Florida's humid climate, vinyl flooring can withstand moisture without warping or damage.
Easy Maintenance: Regular sweeping and occasional mopping are usually enough to keep vinyl floors looking new.
Variety of Styles: From wood-look to stone patterns, vinyl can mimic the appearance of more expensive flooring options.
Types of Vinyl Flooring
Vinyl Sheets: These come in large rolls and are ideal for covering large areas without seams.
Vinyl Tiles: Available in various sizes, tiles can be arranged in creative patterns.
Luxury Vinyl Plank (LVP): This option offers a more realistic wood look and is thicker, providing better sound insulation.
Preparing for Installation
Before diving into the installation process, proper preparation is crucial. Here are the steps to take:
Measure Your Space
Accurate measurements will help you purchase the right amount of flooring. Measure the length and width of the room, and multiply these figures to get the total square footage. Always add an extra 10% to account for mistakes or future repairs.
Choose the Right Underlayment
An underlayment can provide additional cushioning, sound absorption, and moisture protection. For vinyl flooring, a foam or felt underlayment is often recommended. Ensure it is compatible with your chosen vinyl type.
Prepare the Subfloor
The subfloor must be clean, dry, and level. Here’s how to prepare it:
Clean: Remove any debris, dust, or old flooring materials.
Repair: Fill in any holes or cracks with a suitable filler.
Level: Use a leveling compound if necessary to ensure a flat surface.
Installation Process
Once your space is prepared, it’s time to install the vinyl flooring. Follow these steps for a successful installation:
Acclimate the Vinyl
Before installation, allow the vinyl to acclimate to the room temperature for at least 48 hours. This helps prevent expansion or contraction after installation.
Lay Out the Flooring
Start by laying out the vinyl pieces in the room without adhesive to visualize the final look. This step allows you to make adjustments before committing.
Cut the Vinyl
Use a utility knife to cut the vinyl to fit your space. For tiles and planks, ensure you stagger the seams for a more natural appearance.
Install the Vinyl
For Sheet Vinyl: Apply adhesive to the subfloor using a notched trowel. Carefully lay the sheet down, smoothing out any bubbles.
For Tiles and Planks: Peel and stick options are available, or you can use adhesive. Start from the center of the room and work your way outwards.
Roll and Seal
After laying down the vinyl, use a roller to ensure it adheres properly to the subfloor. If your vinyl requires sealing, follow the manufacturer's instructions for the best results.
Post-Installation Care
Once your vinyl flooring is installed, proper care will help maintain its appearance and longevity.
Regular Cleaning
Sweep or Vacuum: Remove dirt and debris regularly to prevent scratches.
Mop: Use a damp mop with a mild cleaner specifically designed for vinyl flooring.
Avoid Harsh Chemicals
Stay away from abrasive cleaners or harsh chemicals that can damage the vinyl surface. Always check the manufacturer's recommendations for cleaning products.
Protect from Sunlight
Florida's intense sunlight can fade vinyl flooring over time. Use curtains or blinds to protect your floors from direct sunlight, especially in rooms with large windows.
Common Mistakes to Avoid
Even experienced DIYers can make mistakes during installation. Here are some common pitfalls to watch out for:
Skipping Acclimation: Not allowing the vinyl to acclimate can lead to expansion issues.
Ignoring Subfloor Preparation: A poorly prepared subfloor can result in uneven flooring and premature wear.
Using the Wrong Adhesive: Ensure you use the adhesive recommended by the manufacturer for the best results.
Conclusion
Installing vinyl flooring in your Florida home can be a rewarding project that enhances both the beauty and functionality of your space. By following these tips and best practices, you can ensure a successful installation that will last for years to come. Remember to take your time during the preparation and installation phases, and don’t hesitate to seek professional help if needed. With the right approach, your new vinyl flooring will be a stunning addition to your home.
Take the next step in transforming your space by exploring different vinyl flooring options today!


Comments